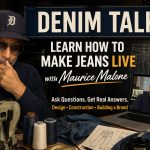
Maurice Malone, MakingABrand.co, and Williamsburg Garment Company now present Denim Talk every Sunday at 5 PM.
After the first session, one thing is clear—there’s real interest in learning denim the right way. Not shortcuts, not recycled information, but practical knowledge that comes from actually doing the work.
Every Sunday at 5 PM, I’m on a mission to help rebuild the American-made denim industry, one designer at a time. It starts with reliable education.
Denim Talk is a weekly online meetup, hosted by Marc Esannason of MakingABrand.co, where anyone, from anywhere in the world, can join the conversation. You can ask me anything—jeans construction, design, manufacturing, building a brand, or whatever you’re trying to figure out. If it’s part of the denim business, we’ll get into it.
I’ve been working in this industry since 1984, and most of what I learned came from asking questions, making mistakes, and figuring things out the hard way. The goal now is to pass that knowledge on so others can move faster, avoid common pitfalls, and build something real.
That mission doesn’t stop at conversation.
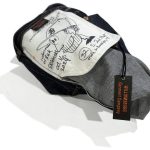
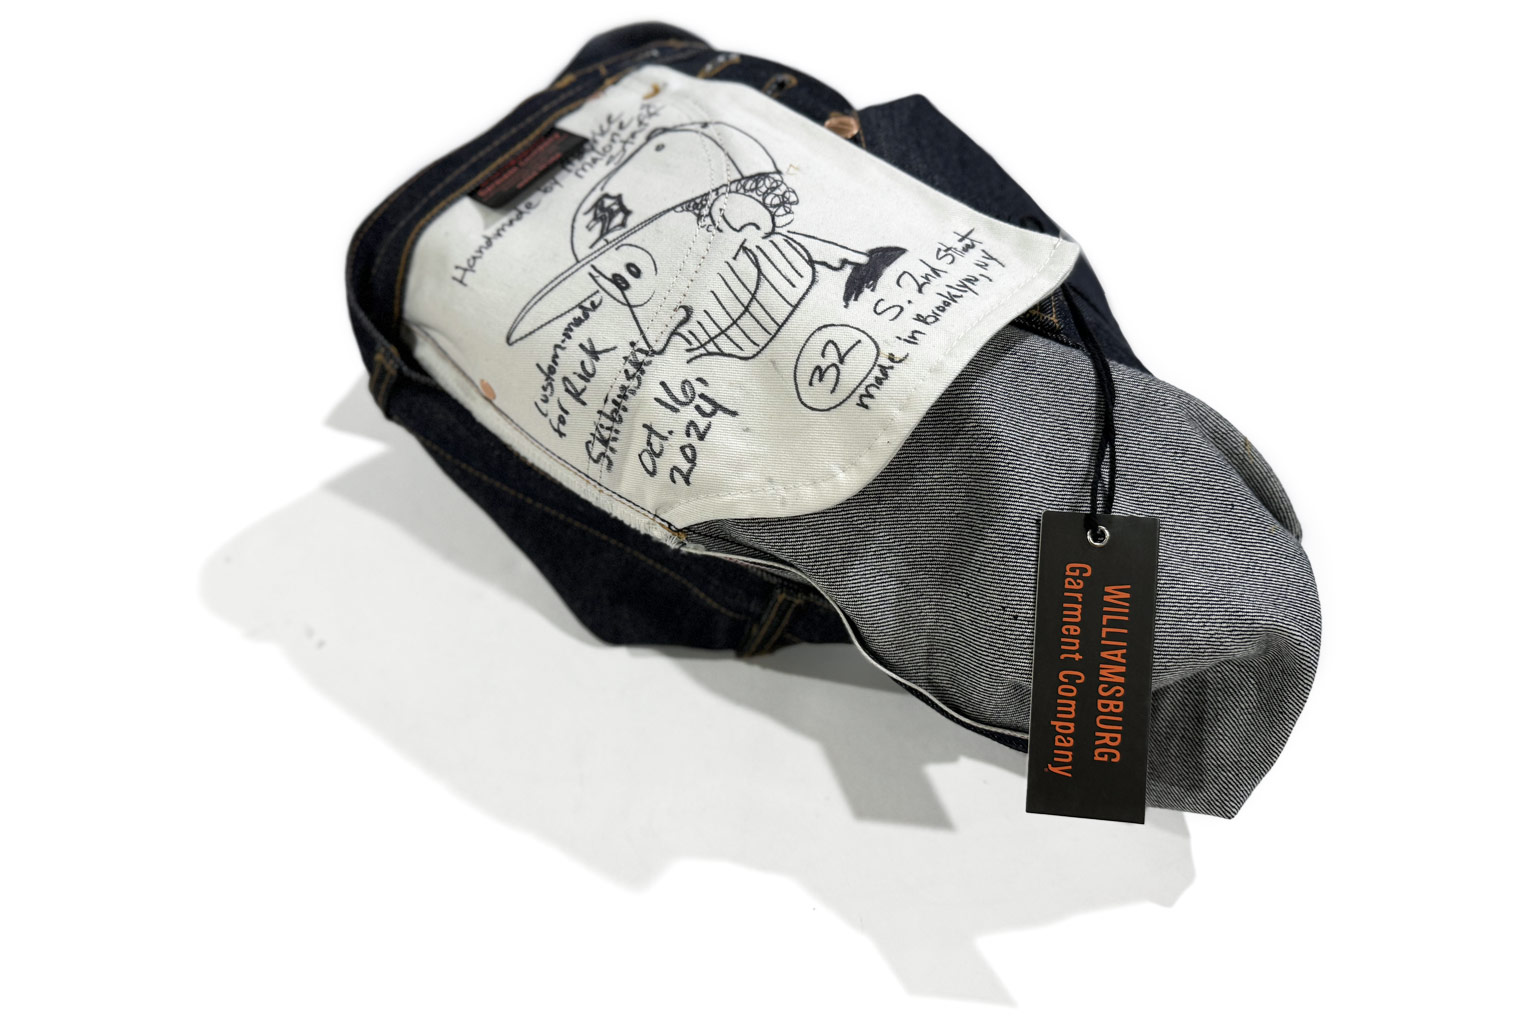
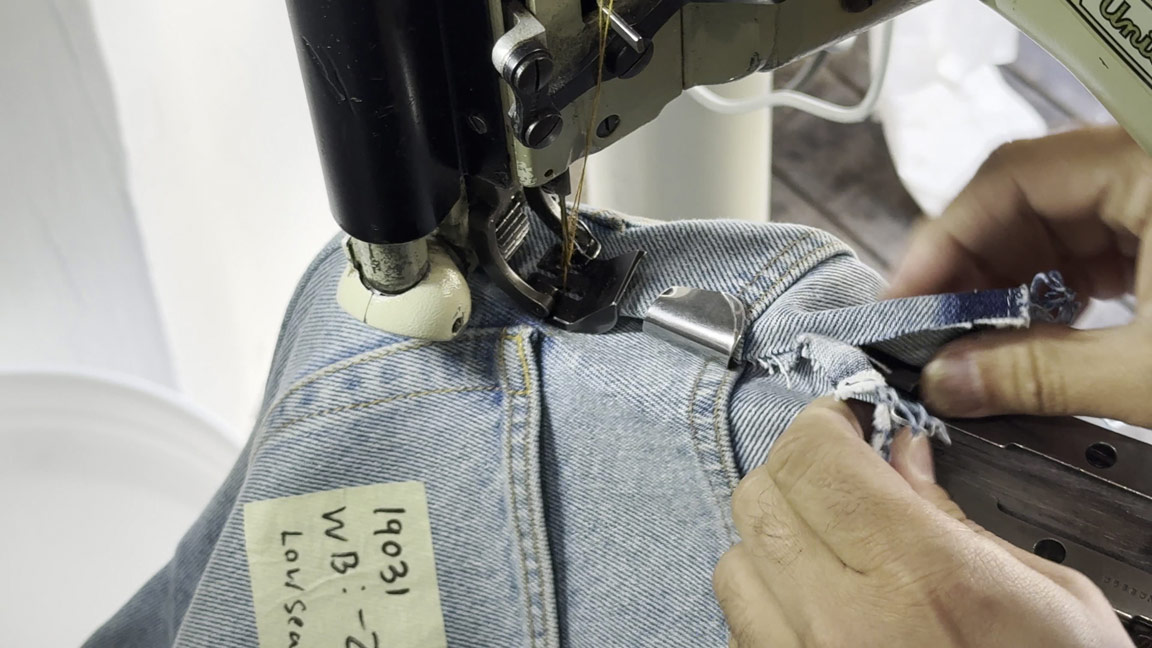
Through Williamsburg Garment Company, we’ve already started helping new designers take the next step by producing samples and handling small production runs of denim jeans with low minimums. That’s something that’s been missing for a long time—real manufacturing support for small brands trying to get started.
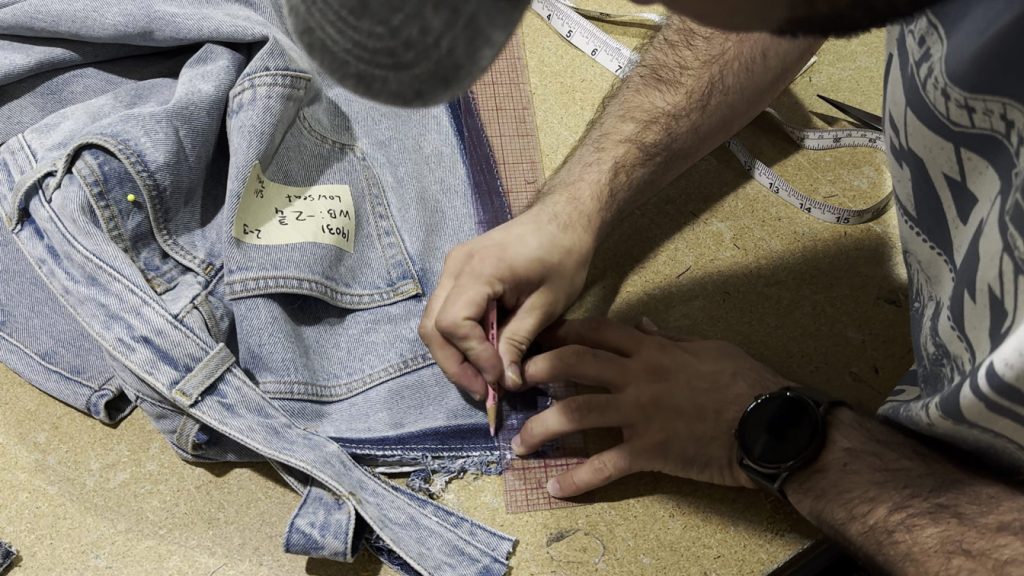
Before jumping into production, I strongly suggest booking time to talk through your plans. We’ve already seen new designers make avoidable mistakes—issues with patterns, construction details, and production readiness that can cost time and money. A quick conversation upfront can save you from going down the wrong path.
It’s also important to clarify—Denim Talk is not the same as Denim Workshop.
Denim Talk is an online meetup focused on discussion, questions, and guidance.
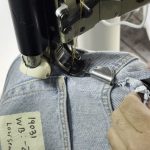
Denim Workshop is a separate, hands-on program where I teach people how to actually make jeans in a real studio environment.
(Links to Denim Workshop will be added here.)
The first Denim Talk session is already available on the MakingABrand YouTube channel and is included below, so you can watch how the conversation works and the types of questions being asked.
Beyond that, I’m starting to build out a resource section here on DenimBMC.com. I’ll be sharing vetted sources for fabrics, labels, trims, machines, and services—companies I’ve worked with or reviewed that can realistically support small brands. The idea is simple: make it easier for designers to find the right partners without wasting time or money.
If you’re serious about denim—or even just trying to understand it better—join me on Sunday.
Denim Talk. Every Sunday at 5 PM.
You might be interested in