If you’re serious about denim—about understanding how jeans are made, how they’re designed, and how the pieces really come together—this is the workshop you’ve been waiting for.
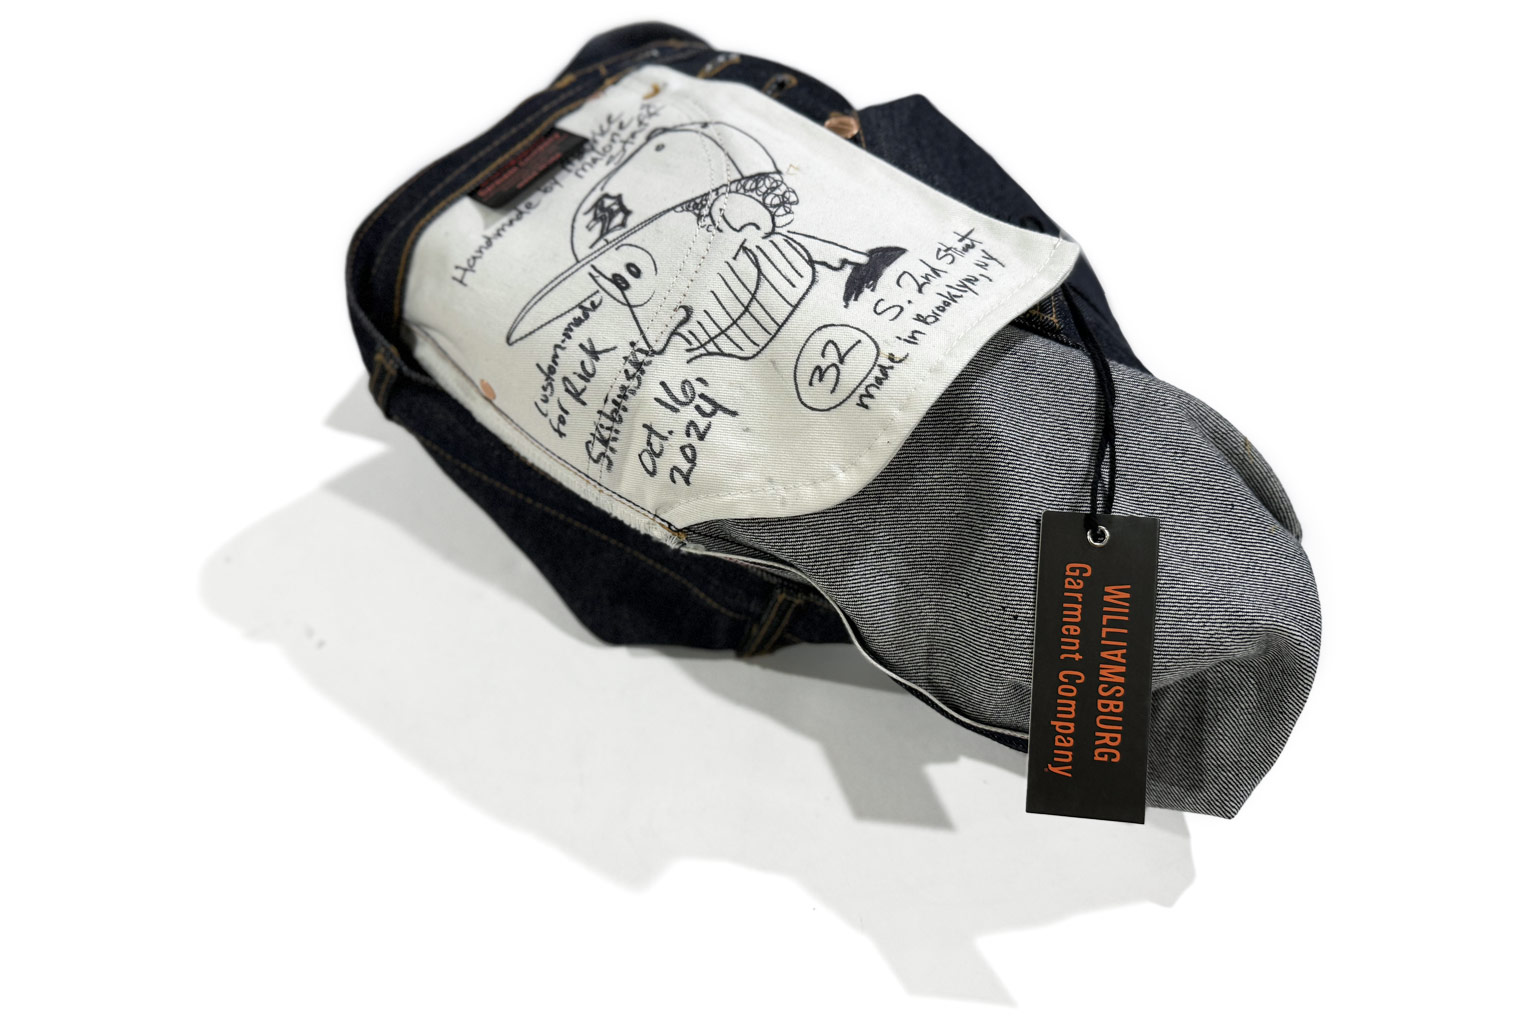
This fall, I’ll be leading a new Denim Workshop inside the Williamsburg Garment Company studio in Brooklyn. The workshop is produced by Williamsburg Garment Company, Maurice Malone (the brand).
It’s designed for aspiring denim designers, fashion students, and apparel professionals who want real-world experience and hands-on training in how to make jeans using professional machines and methods.
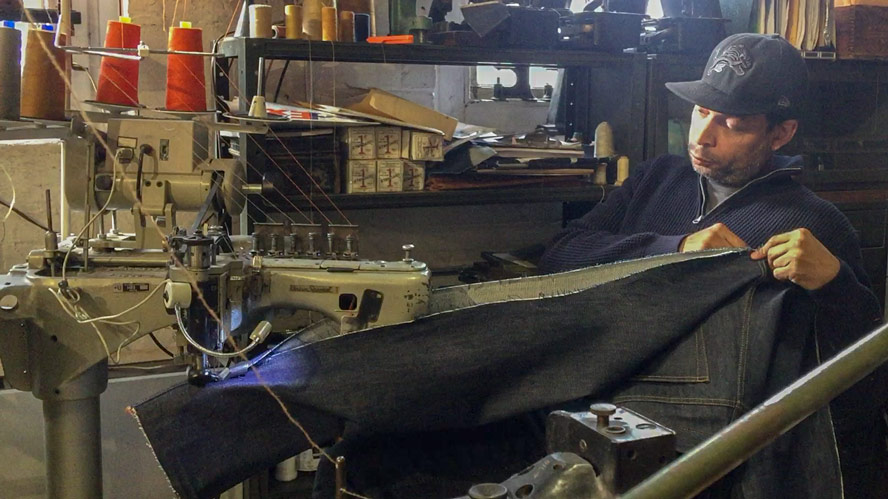
Classes will be held on Wednesdays, 3 PM to 5 PM, starting May 13, 2026. I’ll be teaching live in the same studio where we sew jeans every day for our brands. This is a 9-week course.
If you’re interested, sign up now at MauriceMaloneUSA.com. You can also follow any of our social media channels for updates when enrollment opens.
“Denim Workshop is part of my goal to help inspire and develop the next generation of great denim designers.“
This isn’t a class for hobbyists or home crafters. This is a real-world jean-making and designing workshop, where you will make your own jeans on industrial sewing machines and learn digital pattern making using Tukacad.
You may have tried learning through YouTube or social media videos—but when you’re serious about mastering a craft, you quickly realize that online content can only take you so far. You want to understand the process in real time, ask questions, and get answers that aren’t surface-level. That’s what this workshop is built for.
Over the course of the program, you’ll:
- Learn how to make jeans using real industrial machines and techniques
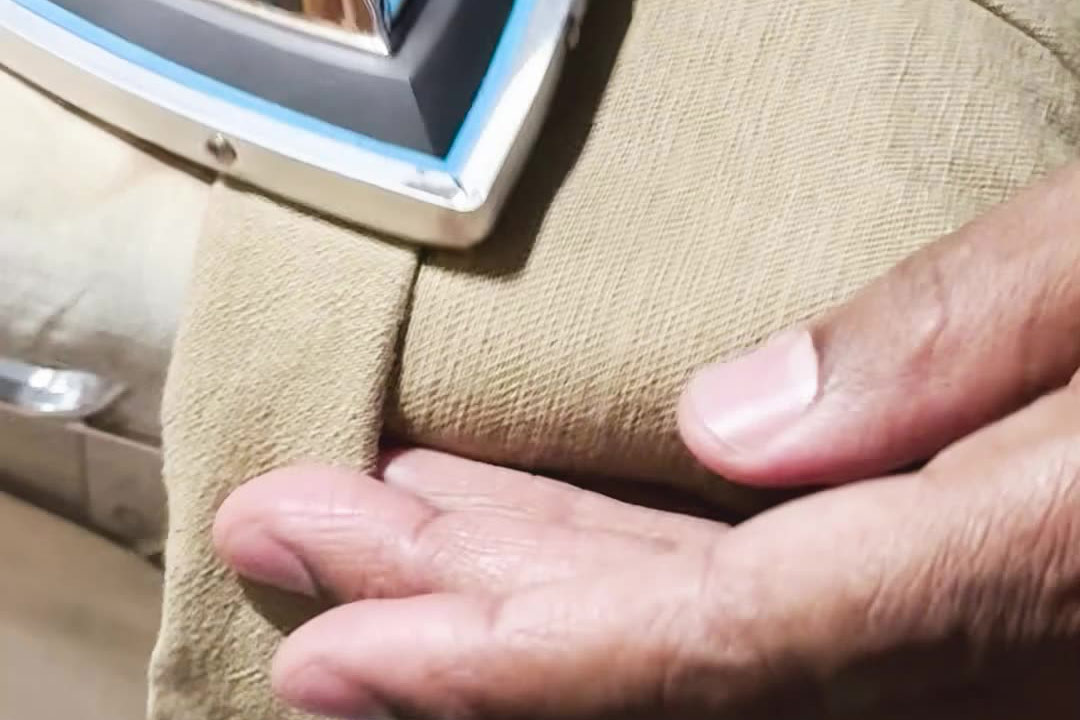
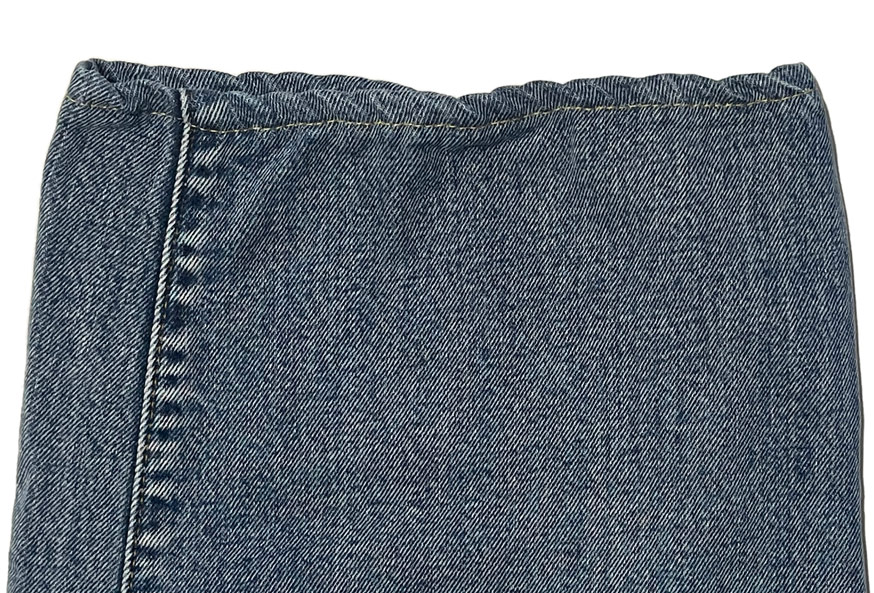
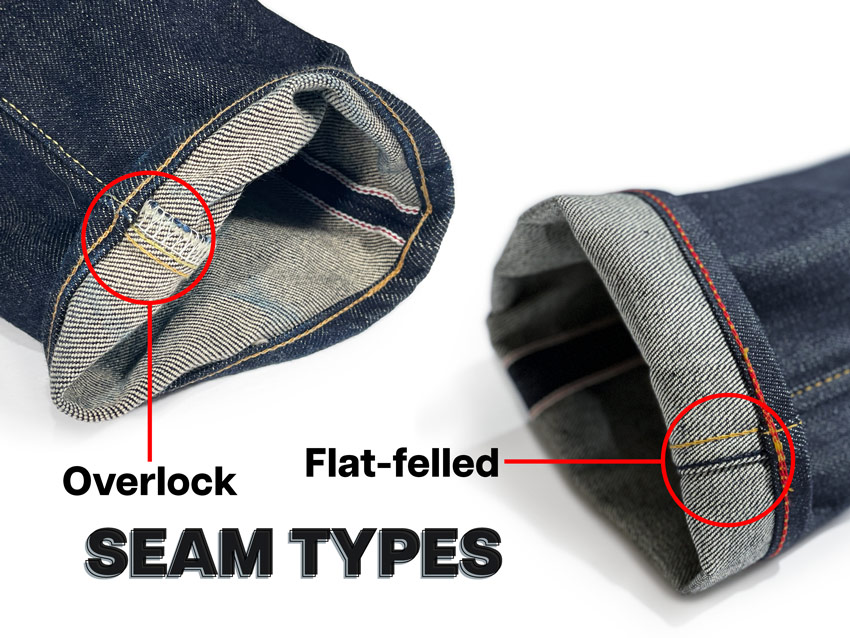
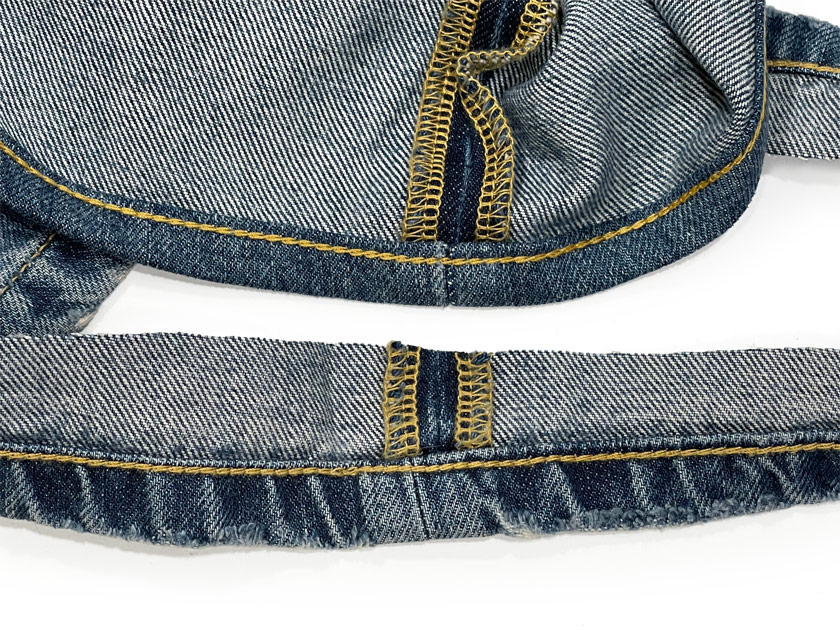
- Understand stitch types, seam construction, and when to use them
- Watch my team build a full pair of jeans from beginning to end, with full transparency
- Learn the basics of pattern making and how to adjust fit through sample sewing
- Construct a fit sample, make corrections, and finalize your own personalized pattern
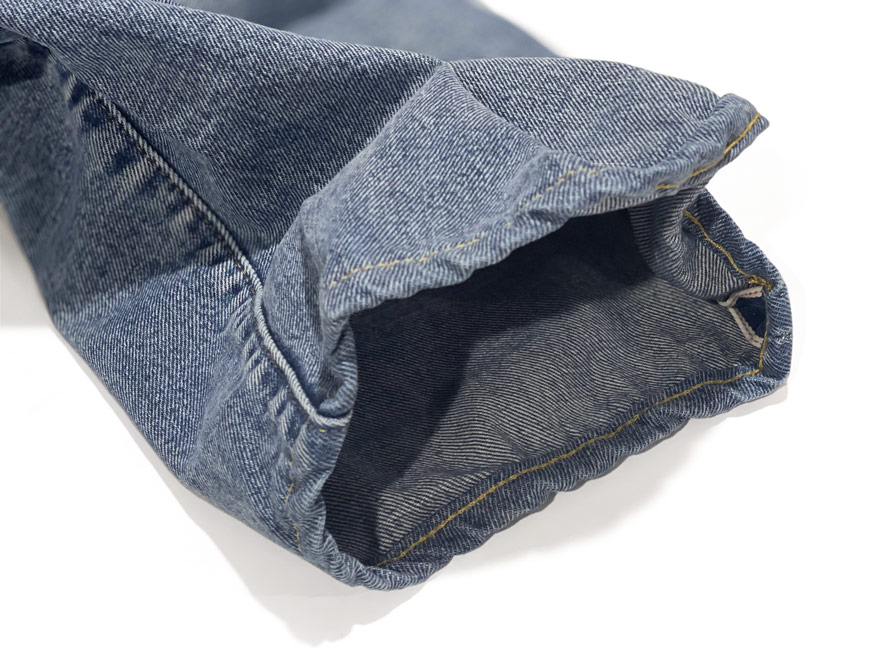
- Sew a complete, wearable pair of jeans using professional techniques
You’ll walk away with a finished garment and a real understanding of how jeans are made—not just on paper, but in practice.
Class sizes will be limited so that everyone gets hands-on time and personal guidance. This is an immersive experience, not a passive demo.
Let’s make some jeans.
You might be interested in